

Blog
Lemon Cream Cheese Dump Cake (Easy 9×13 Dessert)

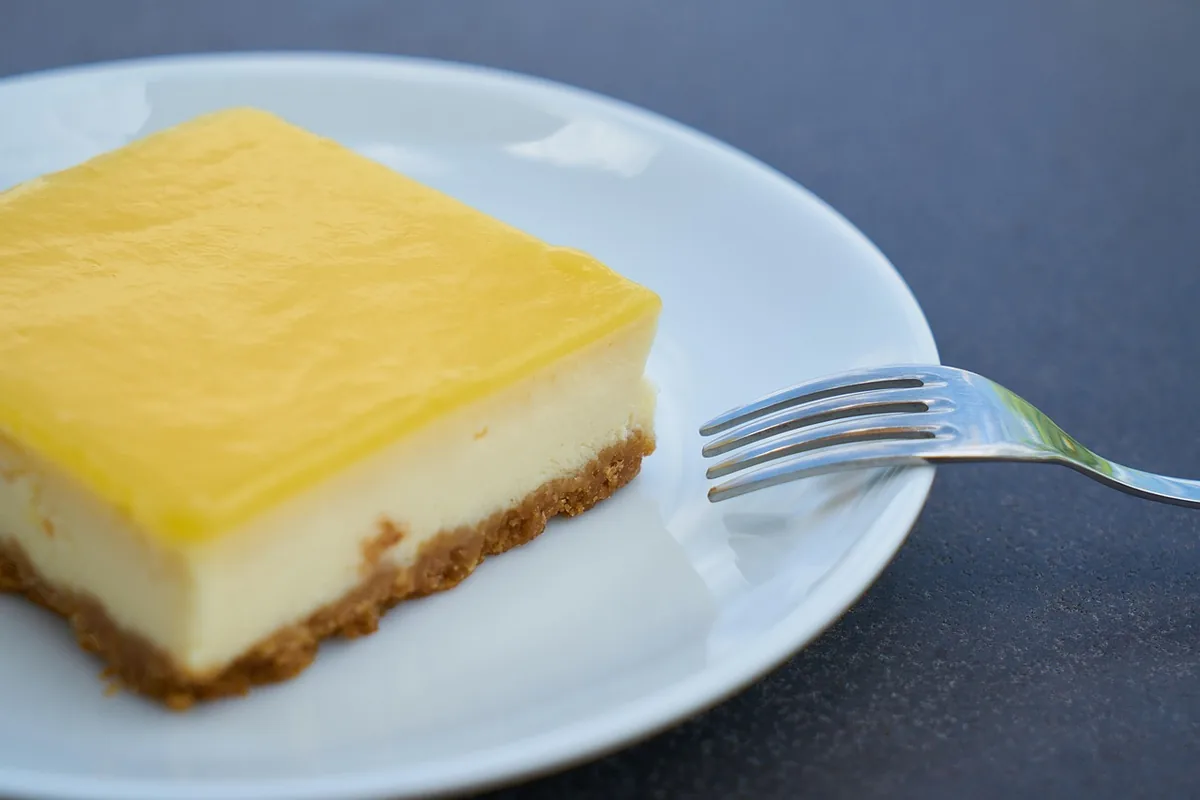
This lemon cream cheese dump cake layers bright lemon pie filling, soft pockets of sweetened cream cheese and a buttery golden topping in one 9×13 dish. You spread the filling, drop on spoonfuls of cream cheese, sprinkle dry cake mix over everything, pour melted butter on top and bake. There’s no mixer for the cake part and only about 10 minutes of hands-on work. The result tastes like a cross between lemon bars, cheesecake and cobbler, and it serves 12.
Below you’ll find the ingredients, the step-by-step method, the butter coverage trick that stops dry, powdery patches, a from-scratch topping if you don’t have cake mix, variations, storage and FAQs. The printable recipe card is at the bottom.
Why You’ll Love This Lemon Cream Cheese Dump Cake
Most dump cakes are all fruit and topping. The cream cheese layer changes that: it bakes into soft, tangy, cheesecake-like pockets that melt into the lemon filling, so each spoonful tastes richer and less sugary than a plain fruit version.
- Five main ingredients. Lemon pie filling, cream cheese, sugar, a box of cake mix and butter. Vanilla and lemon zest are small extras.
- One dish, almost no cleanup. You only need a small bowl for the cream cheese and a measuring cup for the butter.
- Bright, not heavy. The lemon cuts through the butter and cream cheese, so it’s a good dessert after a big dinner.
- Feeds a crowd. A 9×13 pan gives 12 servings for potlucks, cookouts, baby showers and holidays.
- Works warm or cold. Serve it warm with ice cream, or chill it and cut it into soft squares, a bit like lemon bars.
Ingredients for Lemon Cream Cheese Dump Cake
Here’s everything for a standard 9×13-inch pan. Exact amounts are also in the recipe card below.
- Lemon pie filling, 2 cans (21 oz / 595 g each). This is the fruit layer. Choose a thick, glossy lemon pie filling, not lemon curd, which is thinner, richer and much sweeter.
- Full-fat cream cheese, 8 oz (226 g), softened at room temperature for about 45 minutes. Block cream cheese works best; whipped tub cream cheese is airy and spreads too thin.
- Granulated sugar, ⅓ cup (67 g), to sweeten the cream cheese.
- Vanilla extract, 1 teaspoon.
- Lemon zest, 1 teaspoon (from about 1 lemon), for the cream cheese. It makes the lemon flavor taste fresh instead of canned.
- Lemon or yellow cake mix, 1 box (15.25 oz / 432 g), dry. Don’t add the eggs, oil or water listed on the box. A 13.25-oz box also works.
- Unsalted butter, ¾ cup (1½ sticks / 170 g), melted. Salted butter is fine too.
- Optional to finish: powdered sugar for dusting, extra lemon zest, whipped cream or vanilla ice cream.
Lemon cake mix gives the strongest lemon flavor. Yellow or white cake mix gives a softer, more buttery lemon dump cake that lets the filling and cream cheese stand out. Both bake the same way.
Equipment You Need
- A 9×13-inch (3-quart) baking dish. A metal pan bakes a little faster, so start checking 5 minutes early.
- A rimmed baking sheet to set the dish on. The filling can bubble over at the edges.
- A small bowl and a fork or hand mixer for the cream cheese layer.
- A spoon or small cookie scoop for dropping the cream cheese.
- A liquid measuring cup with a spout for pouring the melted butter slowly.
- A pastry brush (optional but handy) for spreading butter over dry spots.
How to Make Lemon Cream Cheese Dump Cake (Step by Step)
1. Heat the oven and prep the dish
Heat the oven to 350°F (175°C) with a rack in the center. Lightly grease the 9×13 dish with butter or baking spray. Set it on a rimmed baking sheet.
2. Spread the lemon filling
Spoon both cans of lemon pie filling into the dish and spread it into an even layer, right into the corners. An even layer means the topping bakes evenly too.
3. Make the cream cheese layer
In a small bowl, beat the softened cream cheese, sugar, vanilla and lemon zest with a fork or hand mixer until smooth and creamy, about 1 minute. If it’s lumpy, the cream cheese is still too cold; let it sit 10 more minutes and beat again.
4. Dollop the cream cheese
Drop the cream cheese mixture over the lemon filling in about 15 to 20 small spoonfuls, spaced evenly. Don’t spread it into a solid sheet. Separate dollops bake into soft pockets, while a solid layer can trap steam under the topping and turn it gummy. If you like a marbled look, drag a knife through each dollop once.
5. Sprinkle on the dry cake mix
- Open the box and break up any hard lumps with your fingers or a fork.
- Sprinkle the dry mix evenly over the whole dish, covering the filling and cream cheese.
- Level it gently with the back of a spoon. Don’t stir it in and don’t press it down.
6. Pour the butter
Pour the melted butter slowly over the cake mix in thin, close rows, working from one side of the pan to the other, then crosswise. Aim to wet as much of the surface as possible, including the corners and edges. The next section explains exactly how to get full coverage.
7. Bake
Bake for 45 to 50 minutes, until the top is golden brown and the lemon filling bubbles thickly around the edges. If you spot pale, dry patches after 25 to 30 minutes, dab them with a little extra melted butter and keep baking.
8. Cool before serving
Let the cake cool for at least 30 minutes. The filling is very hot and loose straight from the oven, and it sets up as it cools. Dust with powdered sugar and extra zest, then scoop or cut into squares.
How to Avoid Dry, Powdery Patches
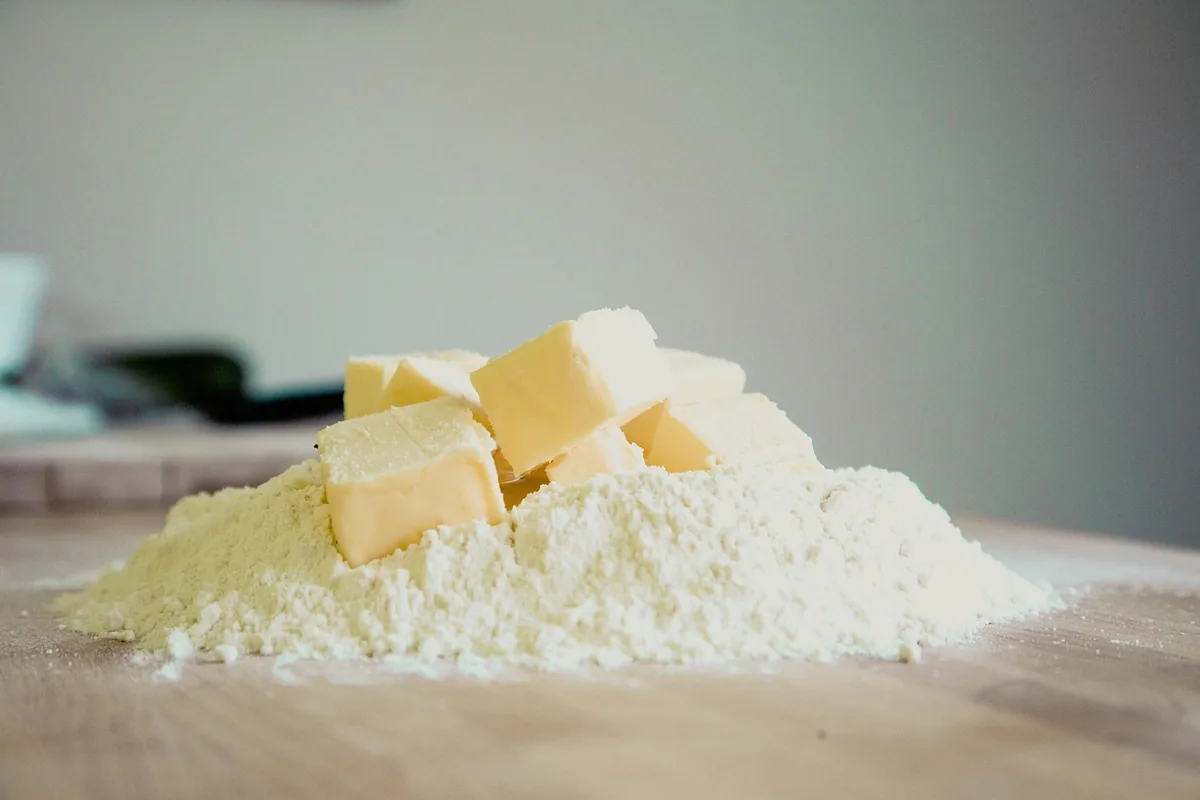
Dry spots are the most common dump cake problem. Cake mix needs fat and moisture to turn into a crisp, cobbler-like crust. Any mix that stays dry on top bakes into a pale, dusty layer that tastes like raw powder. The fix is careful butter coverage, not more butter.
The butter coverage method
- Level the mix first. Bumps and mounds shed butter, and valleys collect it. A flat, even layer about ½ inch thick soaks it up evenly.
- Pour in a grid. Pour half the butter in thin lines from left to right, then the other half from top to bottom. A spouted measuring cup or a spoon gives you more control than tipping the saucepan.
- Brush the gaps. Use a pastry brush or the back of a spoon to nudge pooled butter toward any dry areas. Don’t mix it in.
- Check the corners and edges. They’re easy to miss and they brown fastest, so give them a little extra.
- Check again mid-bake. At 25 to 30 minutes, dab any remaining pale spots with 1 to 2 tablespoons of extra melted butter.
Melted butter vs sliced butter
| Method | How it works | Best for |
|---|---|---|
| Melted butter (this recipe) | Pour slowly in a grid, brush toward gaps | The most even coverage and a crisp, golden top |
| Thin cold slices | Lay ⅛-inch slices edge to edge over the mix | A slightly chunkier, cobbler-style top |
| Half and half | Pour ½ cup melted, then fill gaps with thin slices from ¼ cup cold butter | Getting rid of stubborn dry spots |
One more trick: a light spritz of water or a sprinkle of 2 to 3 tablespoons of milk over the dry mix before the butter can help, especially with a thicker 15.25-oz box. Use a fine mist, not a stream, or the mix turns pasty.
No Cake Mix? Make a From-Scratch Topping
If you don’t have a box of cake mix, or you’d rather skip it, a simple homemade dry mix works the same way. It bakes into a slightly crisper, less sweet crust, which suits the tangy lemon filling well.
- All-purpose flour, 1½ cups (190 g), spooned and leveled.
- Granulated sugar, 1 cup (200 g).
- Baking powder, 1½ teaspoons.
- Fine salt, ½ teaspoon.
- Lemon zest, 1 teaspoon, rubbed into the sugar with your fingertips first, for extra lemon flavor.
Whisk everything together in a bowl until evenly blended, then sprinkle it over the filling and cream cheese exactly like cake mix. Use the same ¾ cup (170 g) melted butter and the same grid pouring method. Bake for 45 to 50 minutes, until golden. For a crunchier top, add ½ cup (40 g) old-fashioned oats to the dry mix.
Gluten-free option: swap in a measure-for-measure gluten-free flour blend, or use a boxed gluten-free yellow cake mix. Gluten-free boxes are often smaller (about 15 oz), which works fine here.
Is the dry cake mix safe?
Yes, once it’s baked. Cake mix and flour are raw ingredients that can carry harmful bacteria, so don’t taste the dry mix or the unbaked topping. In a dump cake, the mix bakes through completely with the butter and the hot filling under it. The FDA explains why raw flour isn’t ready to eat in its guide to handling flour safely.
- Don’t let kids lick the spoon after sprinkling the mix.
- Wash hands, counters and bowls after handling dry flour or cake mix.
- Bake until the topping is golden all over, with no pale, powdery spots left.
Tips for the Best Lemon Dump Cake
- Soften the cream cheese fully. Cold cream cheese stays lumpy and won’t blend with the sugar. Leave the block on the counter for about 45 minutes, or cut it into cubes to speed things up.
- Keep the cream cheese in dollops. Small, spaced spoonfuls bake evenly. One big blob in the middle stays underbaked.
- Don’t stir anything together. The layers are the point. Stirring the cake mix into the filling makes a heavy, gummy cake.
- Bake until the edges bubble. Golden color alone isn’t enough. Thick bubbles at the edges show the filling is hot and the topping underneath is cooked.
- Add fresh lemon. A teaspoon of zest in the cream cheese, plus more on top after baking, makes the canned filling taste brighter.
- Let it rest. Thirty minutes of cooling turns the filling from runny to spoonable. For neat squares, chill it for 2 hours.
Quick troubleshooting
| Problem | Likely cause | Fix next time |
|---|---|---|
| Dry, powdery spots on top | Butter didn’t reach every area | Pour in a grid, brush gaps, dab spots mid-bake |
| Gummy layer under the topping | Cream cheese spread in one sheet, or mix stirred in | Use separate dollops and keep the mix on top |
| Runny filling | Served too hot or pulled out early | Bake until it bubbles thickly; cool 30 minutes |
| Top too dark, center pale | Metal pan or hot oven | Tent with foil after 35 minutes; check your oven temperature |
| Too sweet | Lemon cake mix plus sweet filling | Use yellow or white cake mix and add more zest |
Easy Variations and Substitutions
Once you’ve made the basic lemon cream cheese dump cake recipe, it’s easy to change the fruit, the topping or the pan size.
Blueberry lemon dump cake
Spread 1 can of lemon pie filling in the dish, then scatter 2 cups (300 g) fresh or frozen blueberries over it (don’t thaw frozen berries). Toss the berries with 2 tablespoons sugar and 1 tablespoon cornstarch first so their juice thickens. Add the cream cheese dollops, cake mix and butter as usual and bake 50 to 55 minutes. For an all-blueberry version, see our blueberry dump cake.
Raspberry lemon dump cake
Use 1 can of lemon pie filling and 2 cups (250 g) fresh or frozen raspberries tossed with 3 tablespoons sugar and 1 tablespoon cornstarch. Raspberries are tart and break down into a jammy, pink swirl that looks lovely next to the cream cheese. Bake 50 to 55 minutes.
More swaps
- Lighter cream cheese: Neufchâtel (⅓-less-fat cream cheese) works and bakes just as soft.
- Nutty top: scatter ½ cup (55 g) sliced almonds or chopped pecans over the butter before baking.
- Smaller batch: halve everything (1 can filling, 4 oz cream cheese, half the mix and 6 tablespoons butter) and bake in an 8×8-inch dish for 35 to 40 minutes.
- Different fruit: the same method works with cherry, apple and berry fillings. Try our 4-ingredient cherry dump cake or the classic apple dump cake, or go rich with a chocolate dump cake.
If the cream cheese layer is your favorite part, you’ll also like our mini cheesecake recipe, which bakes creamy cheesecake bites in a muffin tin. For another easy cake-mix dessert, try the cinnamon-swirled honey bun cake.
What to Serve With Lemon Cream Cheese Dump Cake
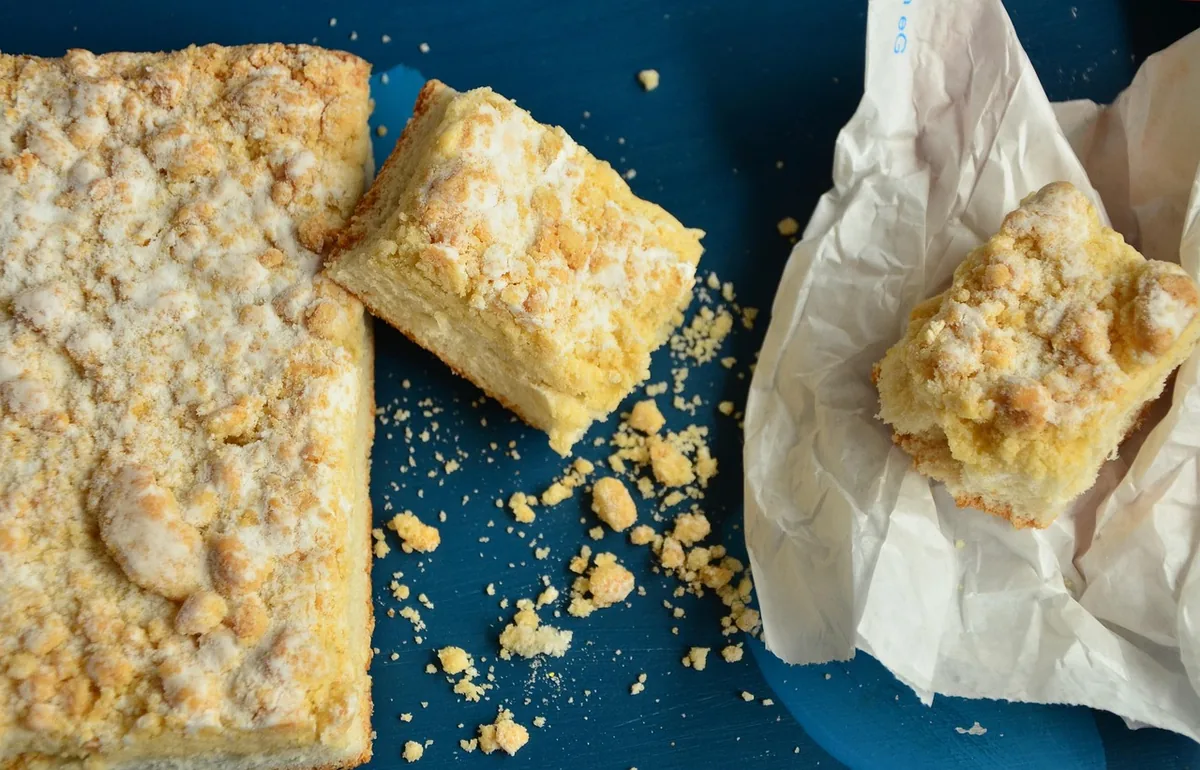
This dessert is sweet and tangy on its own, so simple, creamy sides work best.
- Vanilla ice cream on a warm serving, so it melts into the lemon filling.
- Lightly sweetened whipped cream with a little extra lemon zest.
- Fresh berries, especially blueberries, raspberries or sliced strawberries.
- Plain Greek yogurt for a less sweet topping.
It’s an easy make-ahead dessert after a comforting casserole dinner such as our creamy chicken tetrazzini. Browse all our cake recipes for more simple bakes.
Make-ahead plan for parties
- Same day: bake up to 6 hours ahead. Cool for 1 hour, then cover and refrigerate. Serve chilled, or rewarm at 325°F (165°C) for 15 minutes.
- Night before: bake, cool, cover and refrigerate. Chilled squares cut cleanly, like lemon bars.
- Don’t assemble ahead unbaked. The cake mix soaks up moisture from the filling and turns pasty in the fridge. Mix the cream cheese ahead if you like, and assemble right before baking.
How to Store, Freeze and Reheat
Because of the cream cheese layer, this lemon dump cake belongs in the fridge once it has cooled. Don’t leave it out on the counter overnight the way you might with a plain fruit dump cake.
- Before baking: keep the cream cheese refrigerated until about 45 minutes before you need it, and don’t leave it out for more than 2 hours.
- After baking: refrigerate leftovers within 2 hours of baking, covered with foil or a lid, or moved to an airtight container.
- Fridge: keep for 3 to 4 days. The topping softens as it sits, but the flavor stays bright. See the FoodSafety.gov cold storage chart for dairy and leftover guidelines.
- Freezer: cool completely, then freeze individual squares wrapped in plastic wrap and foil for up to 2 months. The cream cheese may turn a little grainy after freezing, but it still tastes good. Thaw overnight in the fridge.
- Reheat: microwave a single serving for 20 to 30 seconds. To warm a whole pan, cover it with foil and heat at 325°F (165°C) for 15 to 20 minutes, uncovering for the last 5 minutes to re-crisp the top.
Lemon Cream Cheese Dump Cake FAQs
Can I use lemon curd instead of lemon pie filling?
Not as a straight swap. Lemon curd is thinner, richer and sweeter, so it can turn greasy and soak the topping. If you only have curd, mix 1 jar (10 to 11 oz) with 1 can of lemon pie filling for a stronger lemon flavor.
Do I need to add eggs to the cream cheese?
No. Cream cheese beaten with sugar, vanilla and zest bakes into soft, creamy pockets without eggs. An egg makes a firmer, more cheesecake-like layer, but it isn’t needed here and it adds baking time.
Why is the top of my dump cake dry and powdery?
The melted butter didn’t reach every part of the cake mix. Level the mix, pour the butter slowly in a grid, brush it toward any gaps, and dab pale spots with extra butter halfway through baking.
Should lemon cream cheese dump cake be refrigerated?
Yes. Because it contains cream cheese, refrigerate it within 2 hours of baking and eat leftovers within 3 to 4 days.
Can I make a lemon dump cake without cream cheese?
Yes. Skip the cream cheese layer and bake the filling, cake mix and butter for 40 to 45 minutes. It will be a simpler, fruitier dessert, closer to a classic lemon cobbler.
Can I bake it in a slow cooker?
You can, but the top won’t crisp the same way. Layer it in a greased 6-quart slow cooker, lay a clean towel under the lid to catch condensation, and cook on high for 2 to 2½ hours until the topping is cooked through.
Lemon Cream Cheese Dump Cake Recipe Card
Calories are an estimate per serving (1/12 of the pan, without toppings) based on USDA FoodData Central values for canned lemon pie filling, full-fat cream cheese, granulated sugar, yellow cake mix (15.25 oz box) and butter.

Lemon Cream Cheese Dump Cake
Ingredients
Equipment
Method
- Heat the oven to 350°F (175°C). Grease a 9×13-inch baking dish and set it on a rimmed baking sheet.
- Spread both cans of lemon pie filling evenly in the dish.
- Beat the softened cream cheese, sugar, vanilla and lemon zest until smooth, about 1 minute.
- Drop the cream cheese mixture over the filling in 15 to 20 small, evenly spaced spoonfuls. Do not spread it into a solid layer.
- Break up any lumps in the dry cake mix and sprinkle it evenly over everything. Level gently; do not stir or press down.
- Pour the melted butter slowly over the mix in thin rows, first one way and then crosswise. Brush butter toward any dry areas and the corners.
- Bake 45 to 50 minutes, until golden and the filling bubbles thickly at the edges. Dab any pale, dry spots with extra melted butter after 25 to 30 minutes.
- Cool at least 30 minutes. Dust with powdered sugar and zest, and serve warm or chilled.


